Invisalign® Q&A
March 29th, 2023
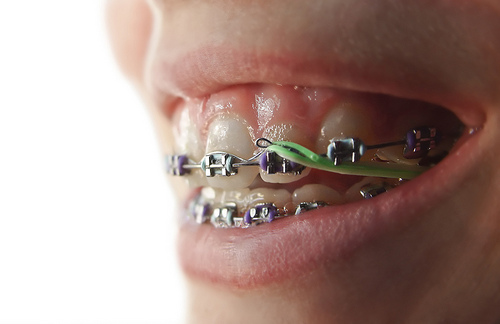
It’s estimated that up to four million people at any one time are wearing braces in the United States and Canada. But Dr. Kathleen Tavarez and our team at Tavarez Orthodontics know that braces have come a long way from the early days of orthodontics, so much so that these days, options are available that are not visible to onlookers. The most popular of these “invisible” braces is Invisalign. Here’s a list of FAQs regarding Invisalign:
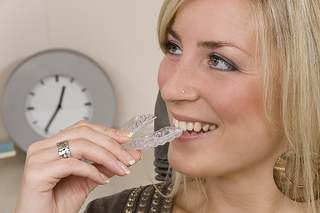
Are they really invisible?
Yes, the clear liners are virtually invisible, so they enable patients to feel good about themselves and their appearance, while getting the orthodontic treatment they need.
Are there wires, rubber bands, and brackets with Invisalign?
Nope. Invisalign is truly an alternative to conventional braces. The treatment consists of clear liners that can easily be removed and cleaned throughout the day. There are no wires, so there’s less poking and mouth irritation compared to braces. There’s also no wire tightening at adjustment appointments, so patients don’t have to worry about a sore mouth in the days that follow in-office visits.
I’ve heard that if I get braces, I won’t be able to eat certain foods like popcorn and hard candy. Is this true with Invisalign too?
No. With Invisalign, there are no food restrictions. You simply remove your aligners when you’re eating, and replace them after you’ve finished and brushed any leftover food particles away.
Does Invisalign cost more than braces?
While overall cost varies on a patient-by-patient basis and is based largely on the level of treatment, Invisalign costs about the same as traditional braces, which makes this treatment option a truly affordable alternative.
How does brushing compare with conventional braces?
Brushing your teeth while wearing conventional braces takes some getting used to. Patients have to brush around the metal brackets and floss with a specialty tool to get into the hard-to-reach areas of the mouth. By contrast, Invisalign can be removed at any time to permit regular brushing and flossing.
Every patient is different and Invisalign might not be the best course of orthodontic treatment for everyone, but it's an option that's gaining more and more popularity, and it's an orthodontic alternative that doesn't sacrifice comfort and convenience for results. For more information, or to schedule a consultation, please give us a call at our convenient Menlo Park or San Carlos, CA office!